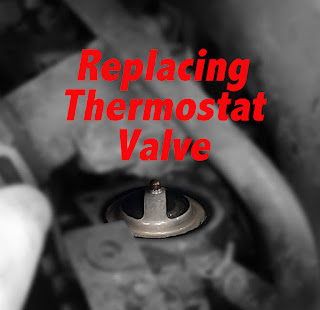
Thermostat Valve Change - Fiat Scudo
Fiat Scudo JTD 2.0 2001
Parts:
-Thermostat Valve (Check which one is right for your vehicle - This one fitted mine http://bit.ly/2KN8Yia )-10mm Spanner/Socket spanner https://amzn.to/2G9HqkH
-Gasket Sealant (If needed) http://bit.ly/339QsHr
-Bucket (For collecting drained coolant)
-Funnel & Hose (Optional, but makes the job less messy)
-New Engine coolant (The exact same stuff that is currently in your vehicle, otherwise you might need to do a full engine coolant change)
-Protective/water proof gloves
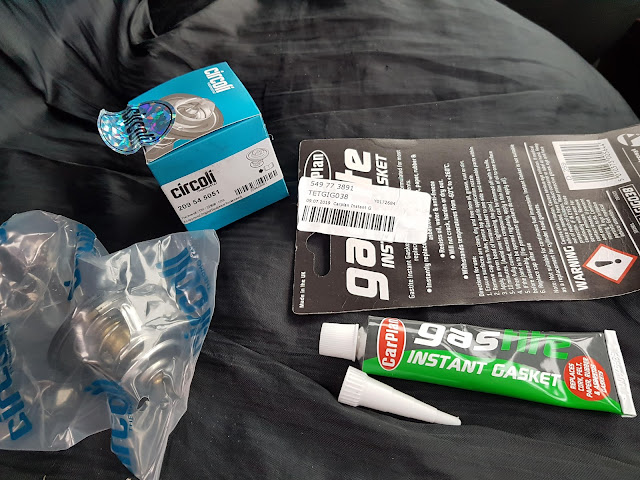 |
| New Thermostat Valve & Instant Gasket Sealant. |
 |
| 10mm Socket |
Process:
Before doing any of the following, make sure that the engine, engine coolant and basically the whole vehicle is cold. Ideally the vehicle hasn't been started for a few hours prior.
Open up the bonnet and locate the Thermostat valve.
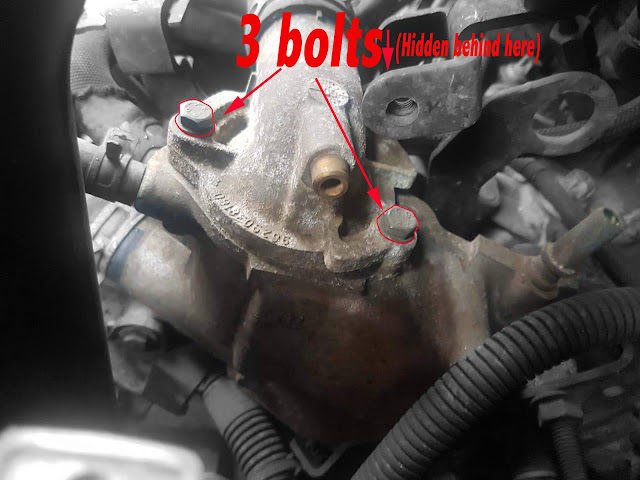
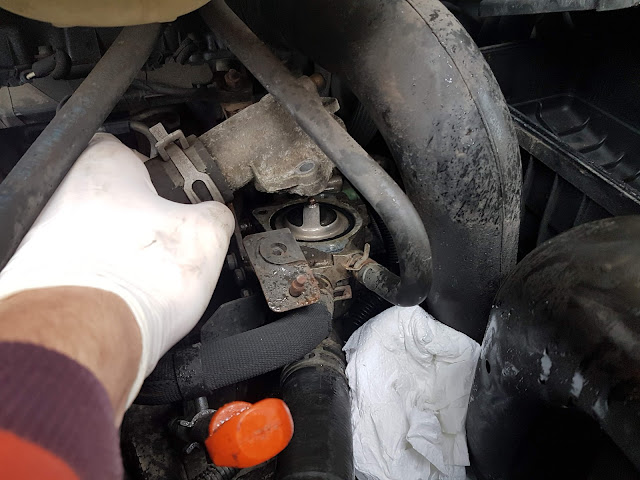
To help be prepared, check which spanner size fits the three bolts (mine was 10mm) on the Thermostat valve housing. I found removing the air filter and moving the upper air filter casing out of the way helped accessing the 2 bolts at the back of the housing.
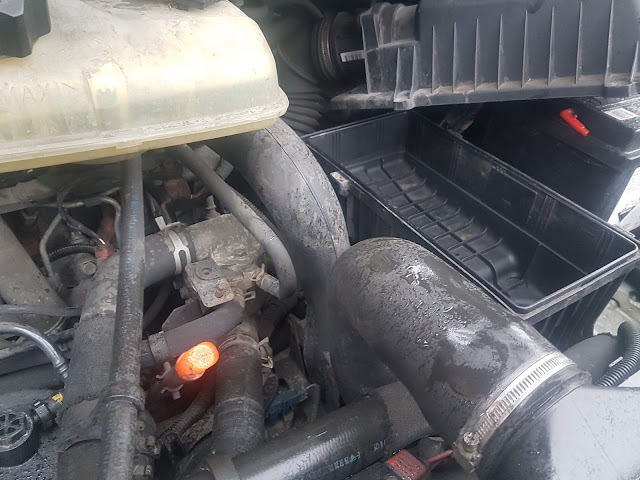 |
| Remove air filter and move upper casing out of the way. |
Before unbolting the Thermostat valve we need to drain some of the engine coolant. As my thermostat was stuck open this method worked well for me.
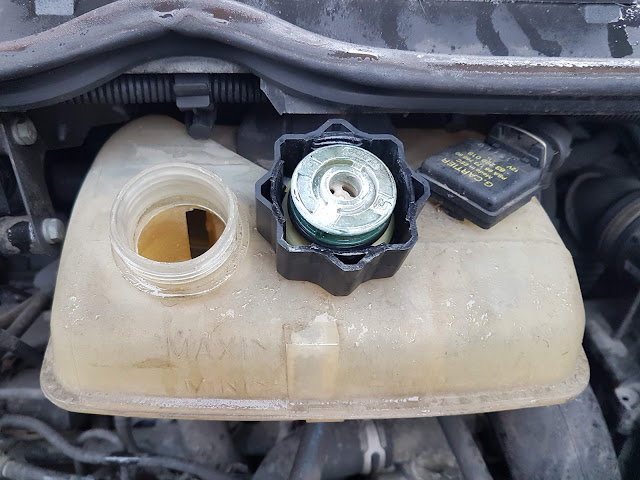
Unscrew the engine coolant reservoir cap.
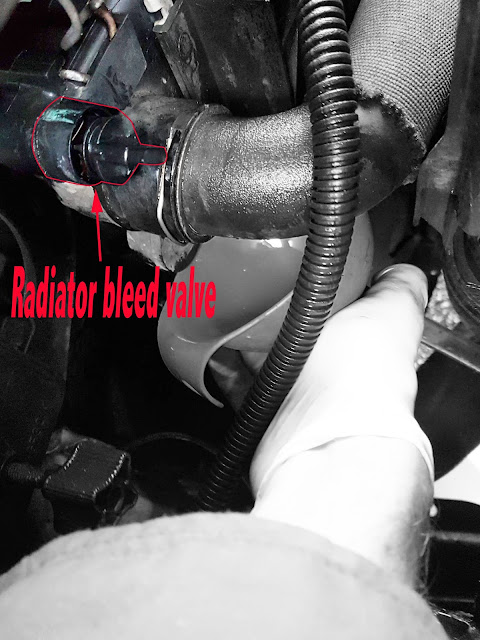
The Bleed Valve on my vehicle was located at the top right of the radiator. Before I used a pair of pliers to gently turn the valve anti-clockwise, I placed my bucket underneath the vehicle and attached a funnel to a hose which lead to the bucket.
Once all set up, turn the bleed valve and coolant will start flowing out, Once the coolant stops flowing out, turn the bleed valve clockwise until it locks into its original place.
Now it's time to unbolt the three bolts on the thermostat valve housing. I placed some kitchen roll around the bottom of the housing to soak up any coolant which wasn't able to drain out.
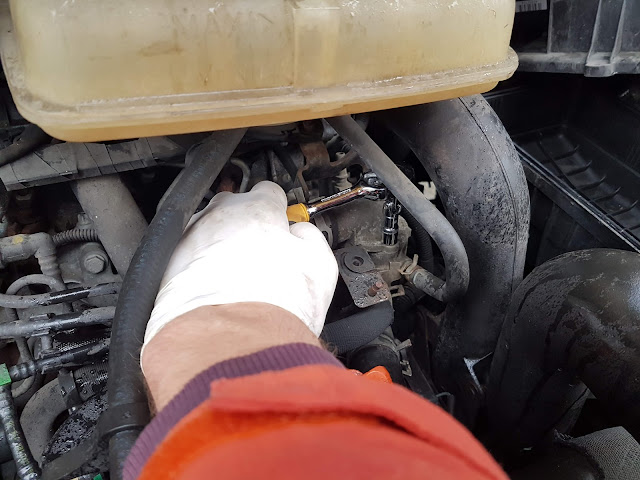 |
| Try and remember which bolt came from which hole. |
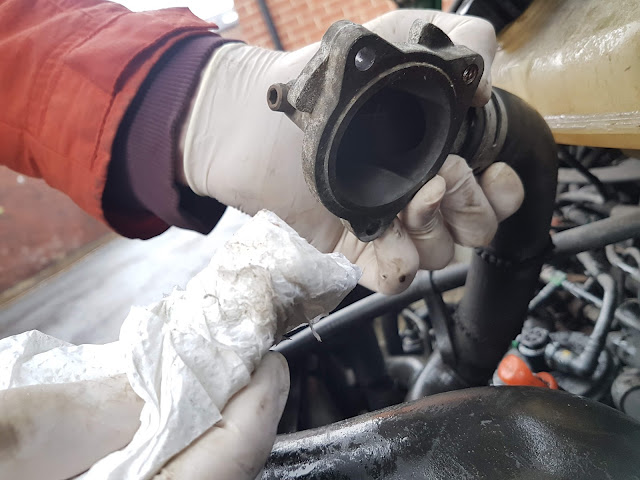
The top half of the housing should just lift off with the strength of your hand. If it doesn't, I read, place a small piece of wood on the top half of the housing and give it a small tap with a hammer. Don't use a screw driver or any metal object directly on the housing as it my damage the housing and not create a perfect seal once you put it back together again.
Give the housing a quick clean with some kitchen paper.
Then remove the valve itself. I couldn't pull mine out by hand, so I threaded a cable tie (Strong string could work) through and I was able to lift the valve out with a slight bit of pull, but crucially without damaging the valve or the housing.
Then it's just a case of putting in your new valve (Mine came with a new rubber seal around the valve, if yours doesn't just take the old one off the valve you took out, if its still in good condition.)
Ideally once you have put in your new valve and have placed the top part of the housing on top there should be a few millimetre gap. If there isn't a gap and both parts of the metal housing are in contact, then use the gasket sealant.
Put the bolts back into the housing and tighten (the small gap should disappear).
Now it's time to fill the engine coolant reservoir up to the max line, but do not replace the cap yet.
At this stage I just used some water to wash off any parts in the engine bay that may have come in contact with engine coolant liquid.
Do this next part with the vehicle stationary.
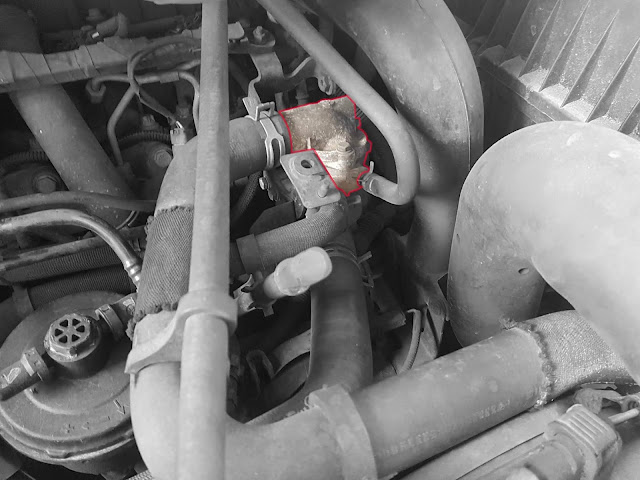
Start up the engine with the inside heater set to cold (Fan can be turned off) and heat up the engine until the thermostat valve opens (Mine was at 83 degrees). You will know when this happens as the big radiator pipe will start heating up.
 |
| Radiator pipe highlighted red |
Once you have turned off the engine place the reservoir cap back on.
Next let the engine, coolant, every thing etc cool completely and then turn the radiator bleed valve slowly anti-clockwise to let any trapped air out of the system until coolant starts coming out.
Top up the engine coolant reservoir if needed and keep an eye of the level for the next couple of trips. Then your good to go!!!
I hope this is some help to people out there. Please leave any comments if you feel I've got something wrong, could improve the process or found it useful!
Thanks a lot :)


Comments
Post a Comment