Fuel Filter change - Fiat Scudo
Fiat Scudo JTD 2.0 2001
Tools & Parts:
-22mm Hexagon Socket https://amzn.to/30YiXZ6
-Bucket, funnel & Hose (For collecting drained Engine Oil)
-New Fuel Filter (This is the type I bought, although got mine from local car shop) https://amzn.to/2RASFJj
-New O Ring (Which should come with new filter)
-Jam Jar amount of new Diesel (From petrol station pump)
-Disposable gloves
*In this post I was replacing the Fuel Filter housing lid also as the plastic nut had threaded and as a result I also broke one of the fuel lines coming out of it trying to get it off. If you need to get a new filter housing the best place I found (3rd party part, not Bosch) was in the link below. It came from Germany and took just over a week to arrive, but it seems to work fine and cost a lot less than others I could find...
Or Official Bosch Part from UK seller http://bit.ly/2tXcLV8
Process:
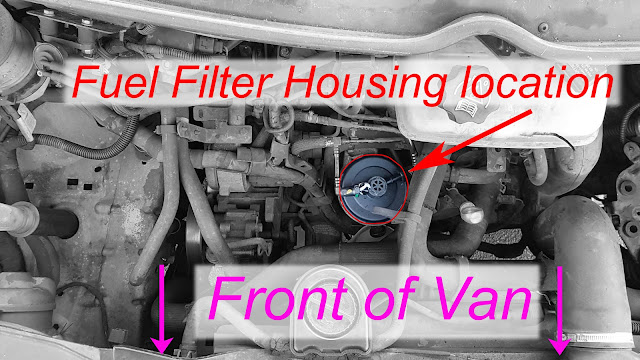
First locate your Fuel Filter Housing.
Now you need to unclip the two pipes which are leading off from the top of the housing. You will need to push in the release clips on the side of the pipes and pull off from housing. Although you need to use a bit of strength, be very careful as you don't want to break the plastic tubes on the housing.
It's a good idea to place some paper towels underneath the pipes, to soak up any Diesel which comes out of the pipes.
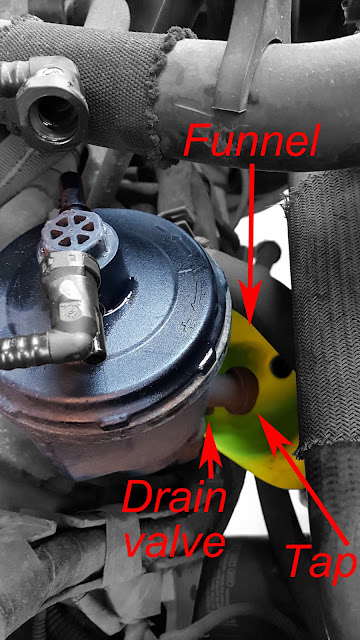
Once you have removed both of the clips, place your funnel, hose and waste bucket/container underneath the drain valve and tap. The valve is slightly hidden underneath the drain tap. So make sure your funnel is under the valve and the tap, not just the tap, otherwise you may be left with a Diesely mess.
Now turn the housing tap anti-clockwise (may be a bit stiff) and eventually fluid with start to flow from the Drain valve. Personally I just unscrew the tap completely out, which helps it flow out quicker and gives you a chance to give it a clean.
If you have taken out the housing tap, re-screw it back in once the Diesel has stopped flowing out or just tighten it back up.
The picture below is just to give you a rough guide of how much Diesel you should expect to drain out.
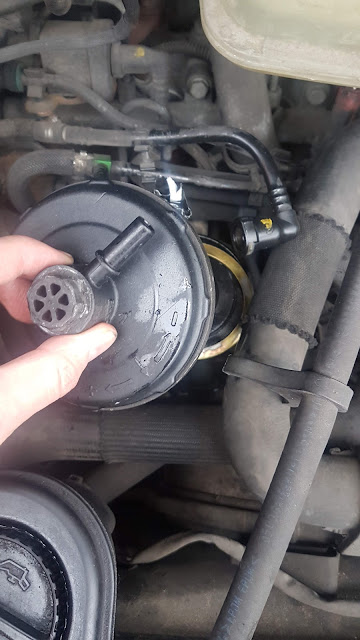
Now it's time to unscrew the Fuel Filter Housing lid.
This can be very tricky, as it can be extremely stiff and as the housing is made of plastic it can be damaged/threaded.
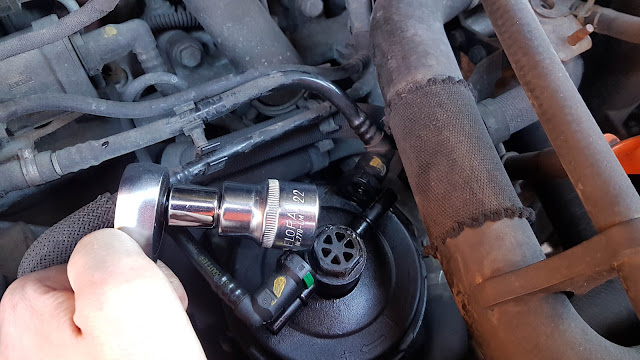
What I have found works best is a 22mm Hexagon socket. I found using a socket with more sides or an adjustable wrench, can slip on the nut when putting strain on it.
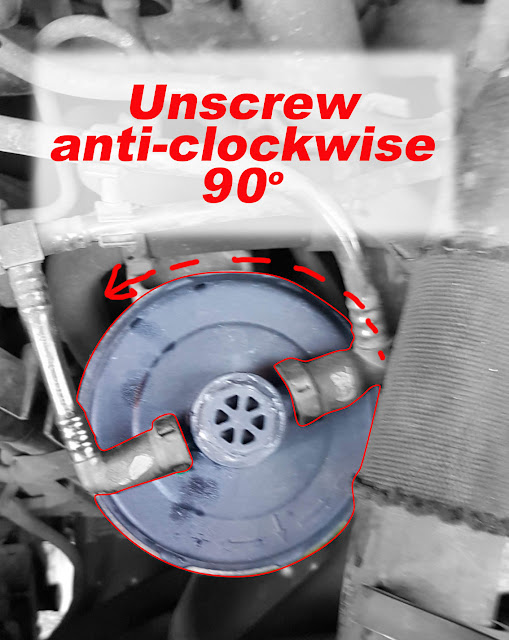
Unscrew the housing lid anti-clockwise about 90 degrees. The lid should feel free once it has gone about 90 degrees and then you can lift it off. Although be aware the filter may also lift up and that will be drenched in Diesel, so get your paper towels at the ready, but try and leave the filter part in for now.
Also make a mental note of the position the lid is when you take it off, as it needs to go back on the same way.
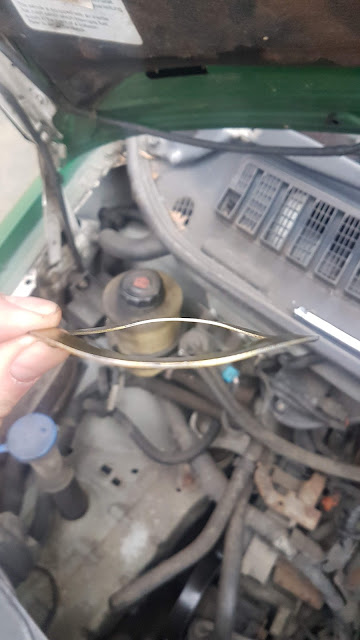
Also be careful that the metal ring doesn't fall into the engine bay when you take the lid off.
Take the metal ring out and keep in a safe place. Don't be alarmed about the waved shape of it.
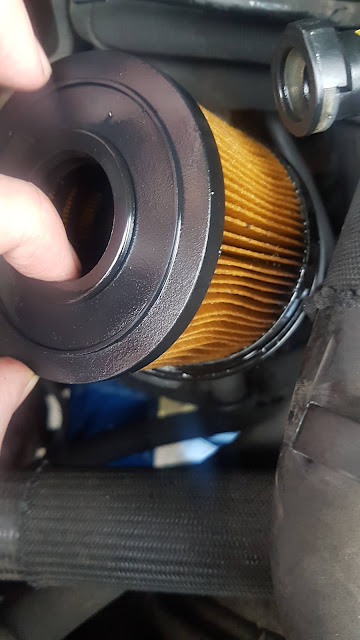
Next it's time to take out the Fuel Filter it's self. Best to put the old filter into a leak proof bag and take it along with the drained Diesel to your local council tip for disposal.
Now it's a good job to give the housing a quick clean out, I just used some paper towels.
After you've cleaned out the housing and double checked that the drain tap is closed, it's time to fill the housing about 1/3 to 1/2 full with new Diesel.
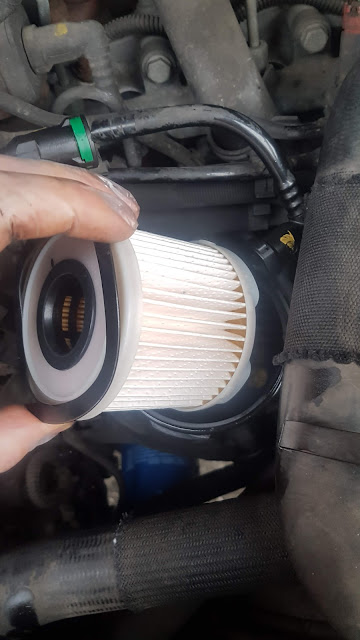
Now it's time to get your new Fuel Filter and place it into the housing. Slowish just so Diesel doesn't splash out.
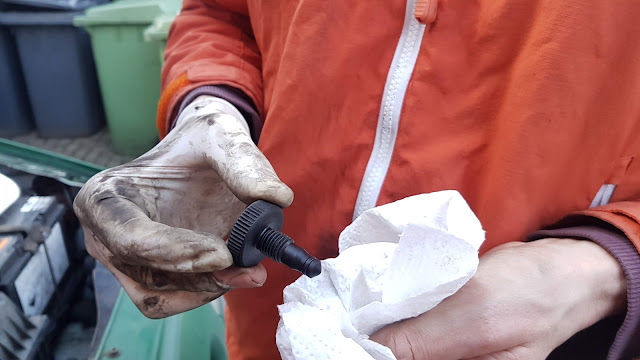 |
| Cleaning Filter Housing tap. |
The picture below is just to give you a rough guide of how much Diesel you should expect to drain out.
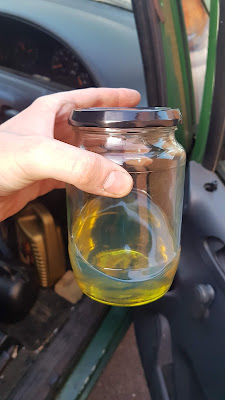 |
| Drained Diesel from hosing. |
This can be very tricky, as it can be extremely stiff and as the housing is made of plastic it can be damaged/threaded.
What I have found works best is a 22mm Hexagon socket. I found using a socket with more sides or an adjustable wrench, can slip on the nut when putting strain on it.
Also make a mental note of the position the lid is when you take it off, as it needs to go back on the same way.
Also be careful that the metal ring doesn't fall into the engine bay when you take the lid off.
Take the metal ring out and keep in a safe place. Don't be alarmed about the waved shape of it.
Next it's time to take out the Fuel Filter it's self. Best to put the old filter into a leak proof bag and take it along with the drained Diesel to your local council tip for disposal.
Now it's a good job to give the housing a quick clean out, I just used some paper towels.
After you've cleaned out the housing and double checked that the drain tap is closed, it's time to fill the housing about 1/3 to 1/2 full with new Diesel.
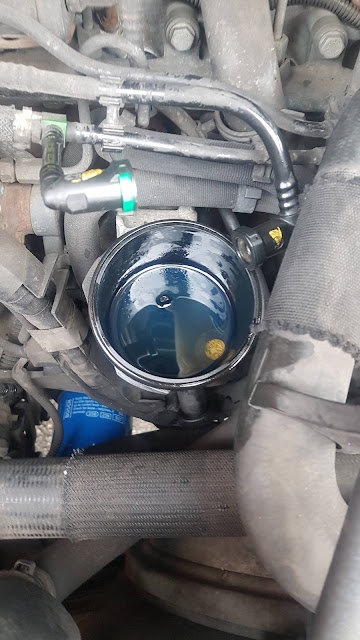 |
| Fill more than whats showing in the picture above. |
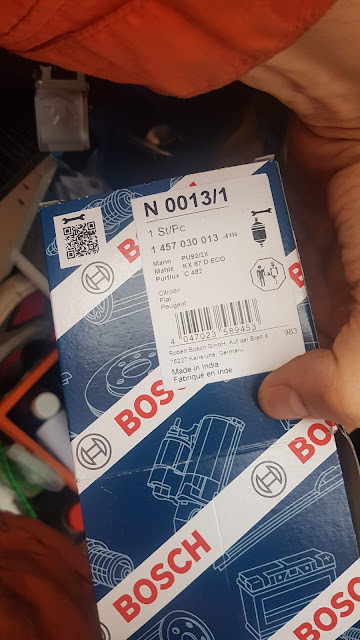 |
| The box mine came in. |
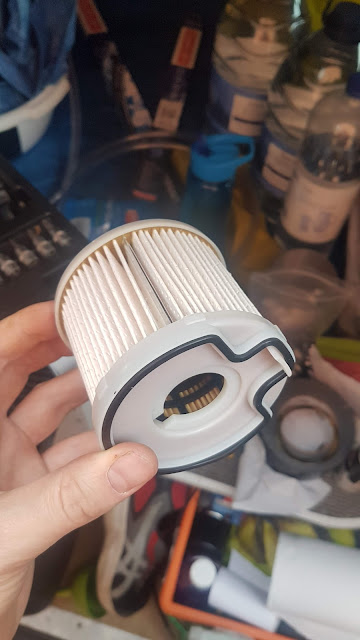 |
| New filter, colour will vary. |
Make sure you put the filter in with the mushroom shaped rubber seal in first. The mushroom part of the filter needs to be at roughly 6 o clock within the housing. You will know if you have it correct, as the filter will fit nicely and neatly in the housing.
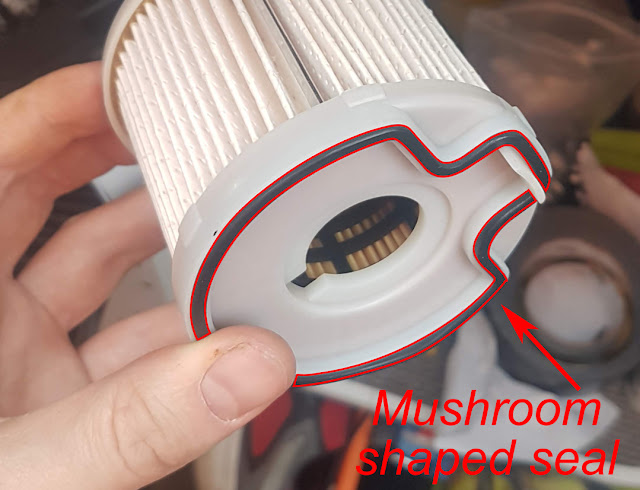 |
| This is the bottom end |
Once the filter is in place, put back the waved metal ring on top of the filter.
(You can just use the one you took out, I'm just using the new one that came with my new filter housing.)
(You can just use the one you took out, I'm just using the new one that came with my new filter housing.)
 |
| The waved metal ring and filter in the housing. |
On the outside of the housing right near the top there should be a rubber ring. Although you can't really see it on my photo above, as my old one was Black, but my replacement one was Green, which can been seen on the second picture below. Take this off and replace with the new one, which should come with your new filter. If it didn't, I don't imagine it would be the end of the world if you keep the old one on, as long as it looks like it is in good condition.
 |
| Old rubber ring coming off. |
 |
| New replacement rubber ring |
Rub a little diesel around the rubber ring and the top of the housing and also in the housing lid.
Next it's time to put the lid back onto the housing.
Make sure that the three lips on the lid interlock with the three lips on the housing.
See very rough picture below...
Make sure that the three lips on the lid interlock with the three lips on the housing.
See very rough picture below...
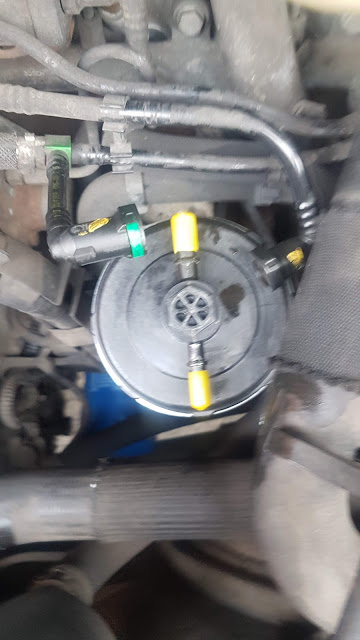 |
| Ignore yellow bits, as this is a new lid. |
Once the lid is in place use the 22mm Hexagon socket to turn the lid roughly 90 degrees clockwise, so it is back in the same place as it was when we started.
Now it's time to clip back on the two pipes at the top. You may need to squeeze in the release buttons to get them back on. Again it may take a bit of force, but be very careful.
I did some research about if this type of housing needs bleeding, as may do. But from what I found this type just needs priming. (I've done this twice and not had any problems.)
So to prime, put your keys in the ignition, then turn the key one click/turn, so the dash lights come on, but you're not starting the engine. Count to 5 and turn key back to off position.
Repeats another 2 times and then start your engine as normal.
And with luck it should all start fine and run fine and there you have it!!!
I hope this is some help to people out there. Please leave any comments if you feel I've got something wrong, could improve the process or found it useful!
Thanks a lot :)





Comments
Post a Comment